 |
| New: Face Template and QR Code Page |
| The Face Template and QR Code page allow the Admins to manage face templates and QR codes so that they can be used with QF Master devices. On this page, Admin can generate QR codes for staff and also send emails to invite staff to perform online face enrollment. Learn all the functions below: | |||
| 1. Page: User > Face Template and QR Code | |||
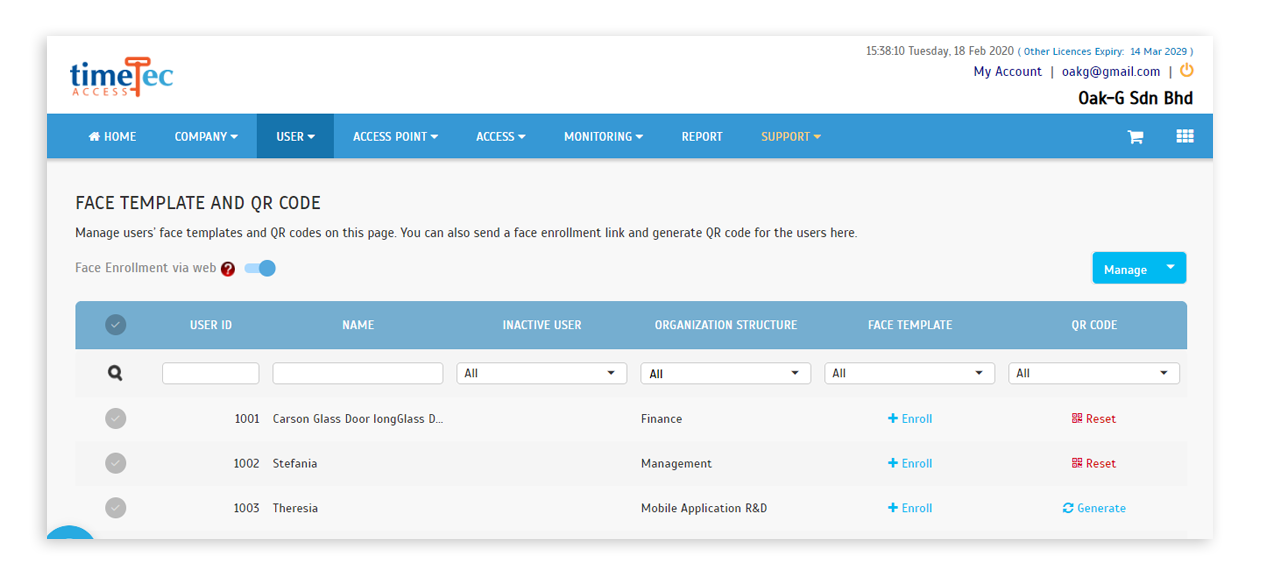 |
|||
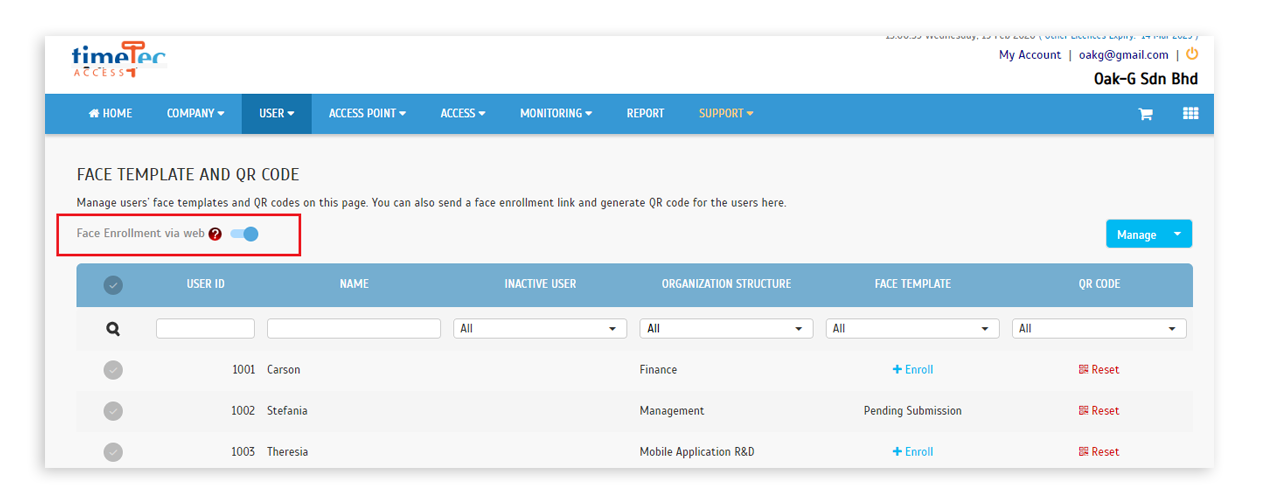
| 2. Toggle button to enable/disable the weblink enrollment. a. Enable this option to allow face enrollment via the weblink. |
|||
 |
|||
| b. Disable face enrollment via web browser. | |||
 |
|||
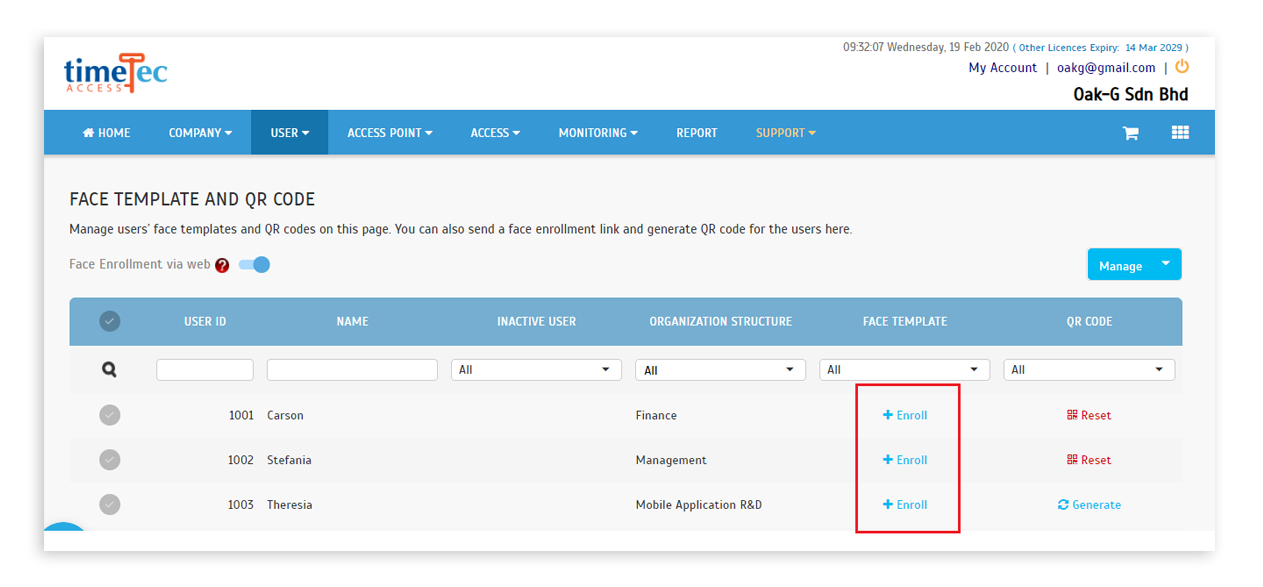
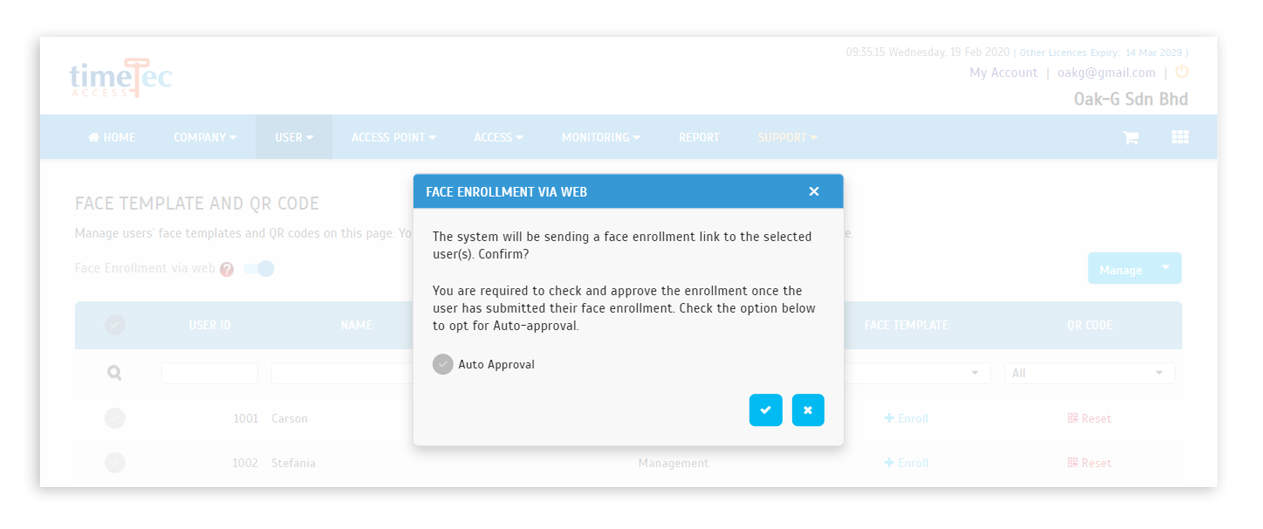
| 3. Enroll Face Template a. Click on the + Enroll button to send a face enrollment web link to the user. |
|||
 |
|||
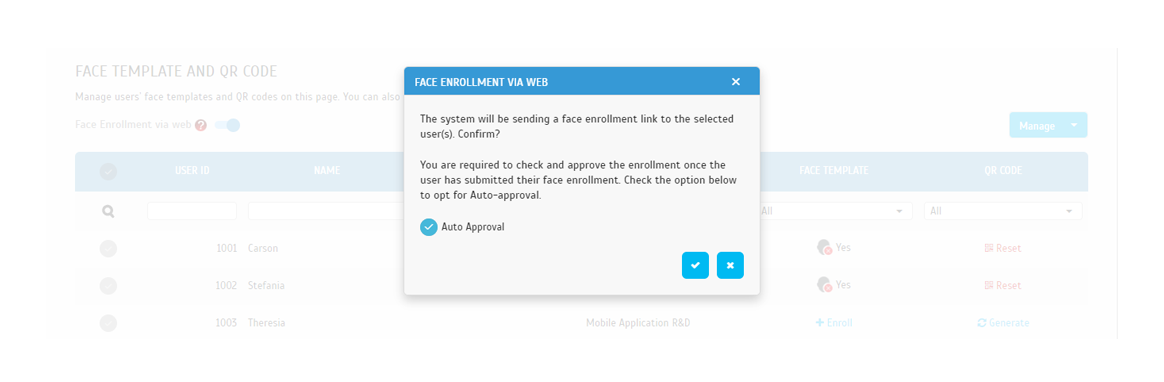
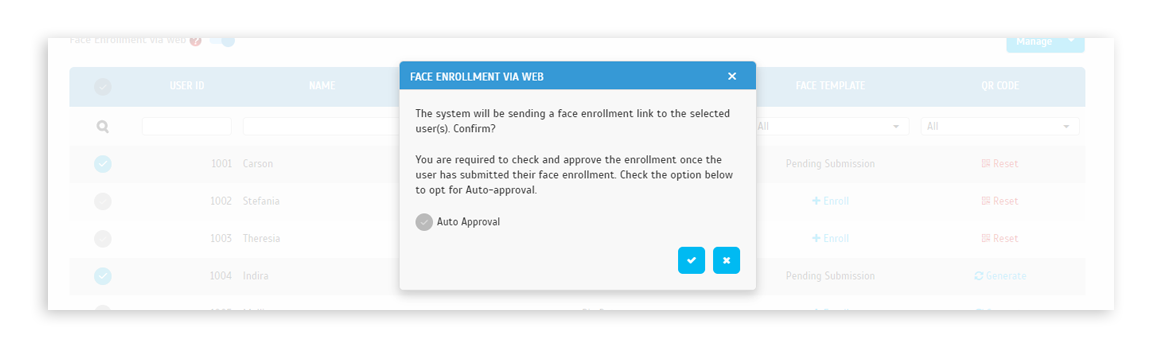
| b. A confirmation message will be prompted before the system sends the enrollment link. The admin can choose to approve manually or enable the Auto Approval checkbox to allow auto approval for the face enrollment. | |||
 |
|||
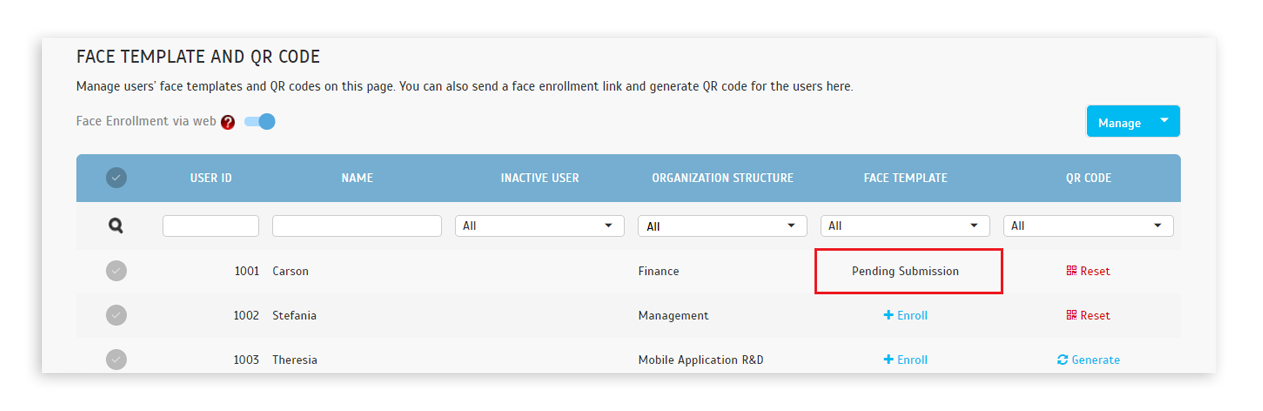
| c. Once the enrollment link has been sent, the status for the user’s face template will be changed to ‘Pending Submission’. | |||
 |
|||
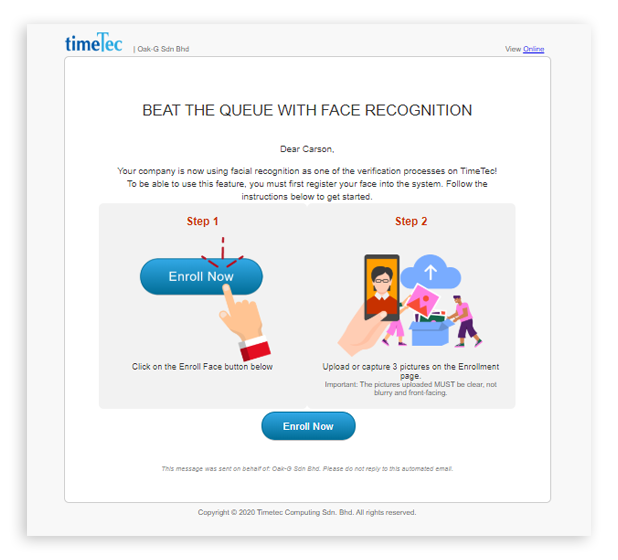
| d. An email will be sent to the user for face enrollment | |||
 |
|||
| e. Users will be directed to the enrollment weblink page after they have clicked on the Enroll Now button. | |||
 |
|||
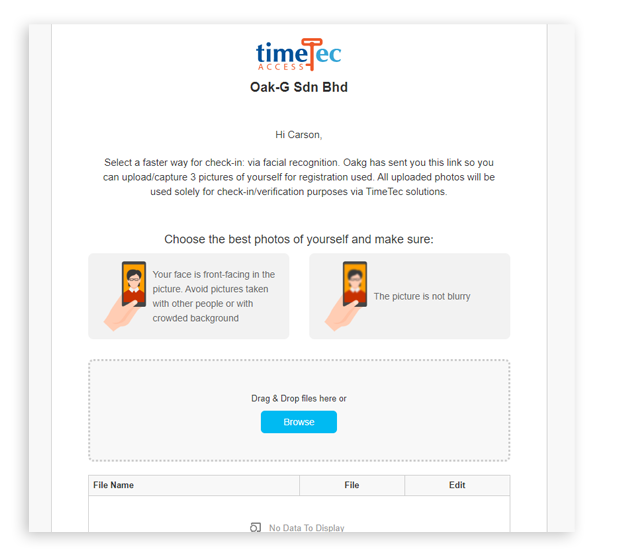
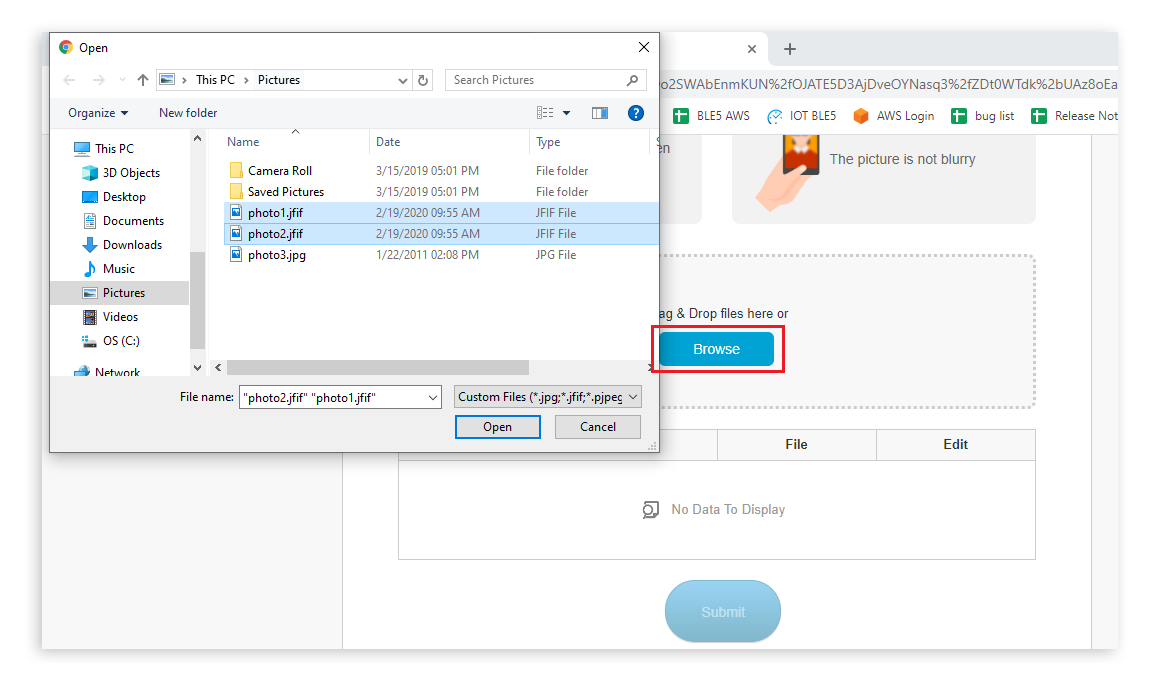
| f. Click on the Browse button to upload photo(s). | |||
 |
|||
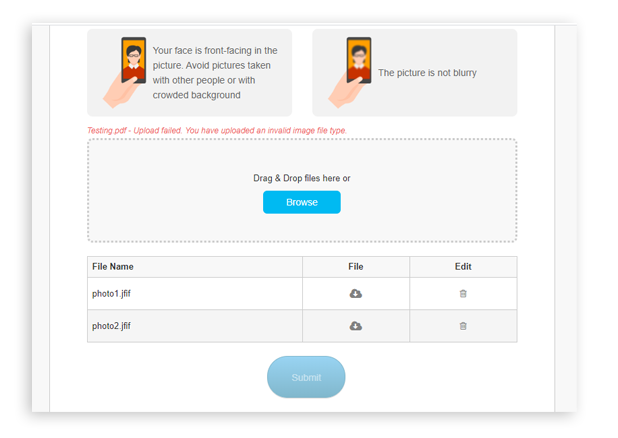
| g. The user must upload 3 photos to proceed. Only image file type is allowed to be uploaded. | |||
 |
|||
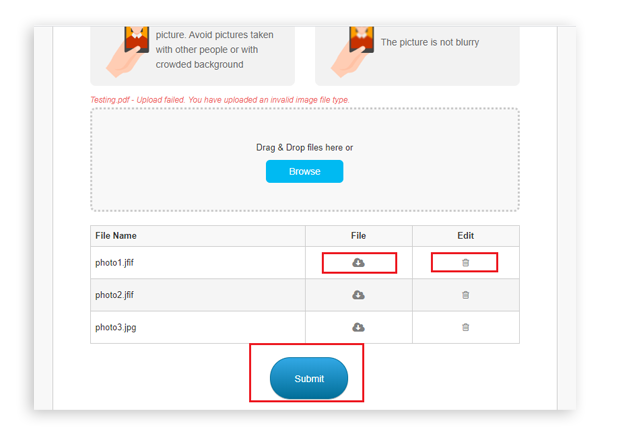
| h. The user can still download and/or remove the photo that has been uploaded. Click on Submit to confirm the final images. | |||
 |
|||
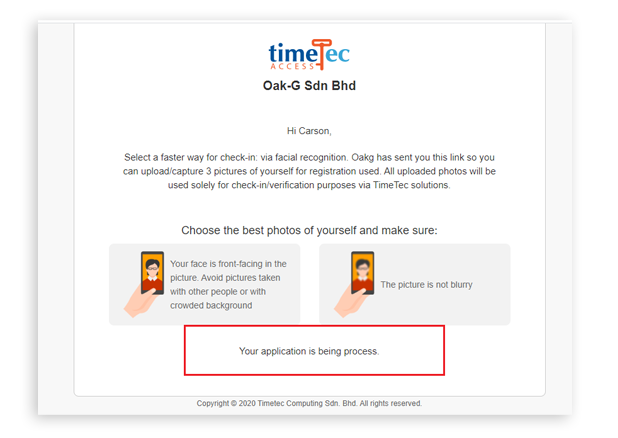
| i. Processing message after submission. | |||
 |
|||
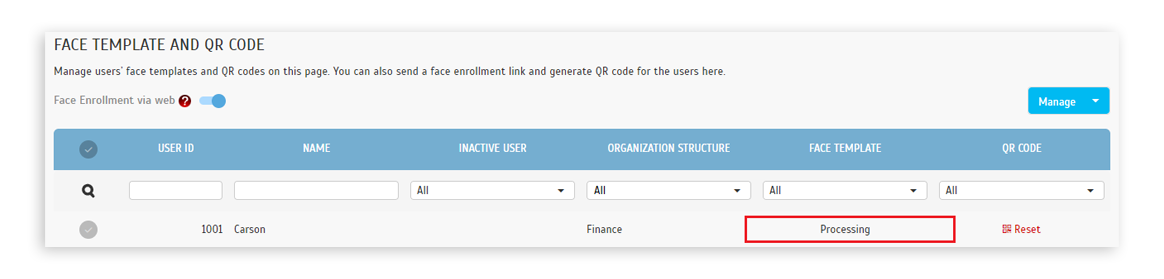
| j. Admin view for the processing status. | |||
 |
|||
| k. The system will auto-screen the submitted images. An unsuccessful email will be sent to the user if all 3 uploaded images did not meet the requirement. The user will be able to re-enroll his/her face again for up to 3 tries. | |||
 |
|||
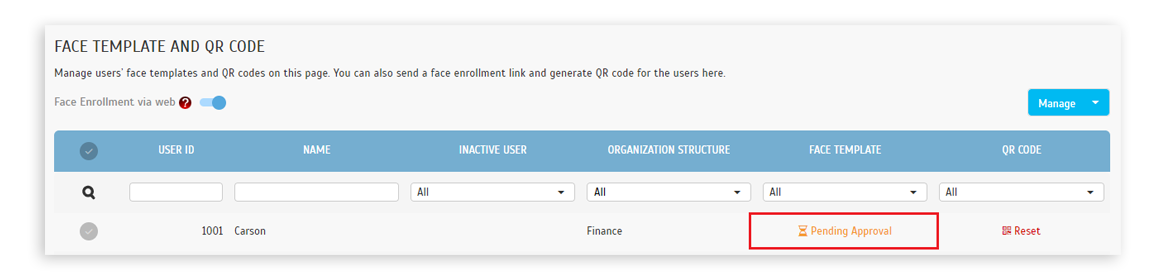
| l. After the system has successfully processed the photo, the Admin can click on the Pending Approval button to approve/reject the face template. | |||
 |
|||
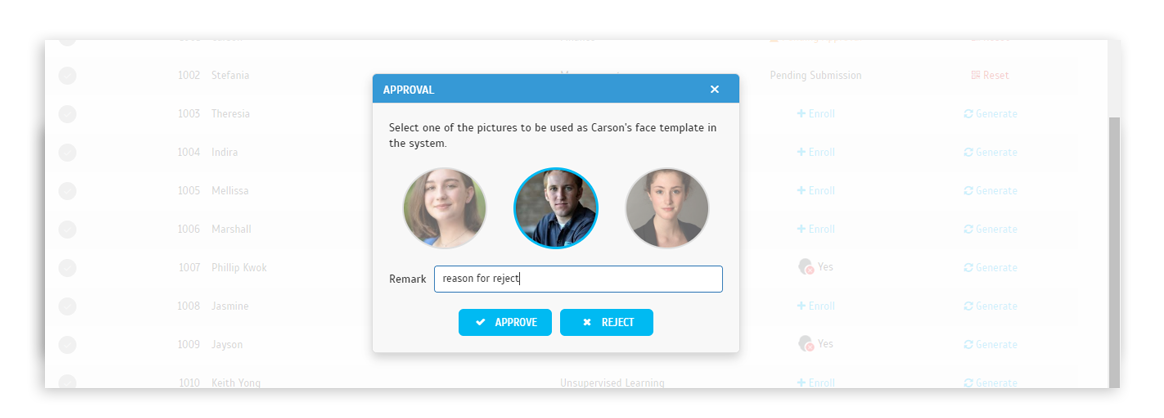
| m. The admin can include a remark when approving/rejecting the template | |||
 |
|||
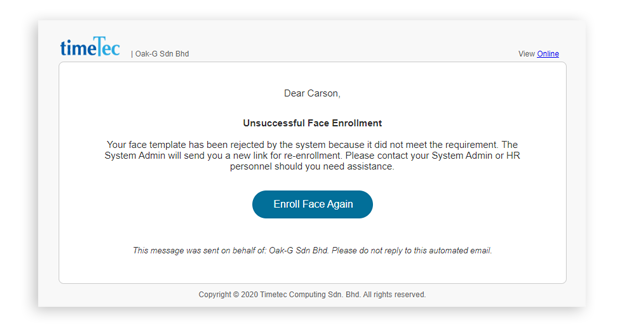
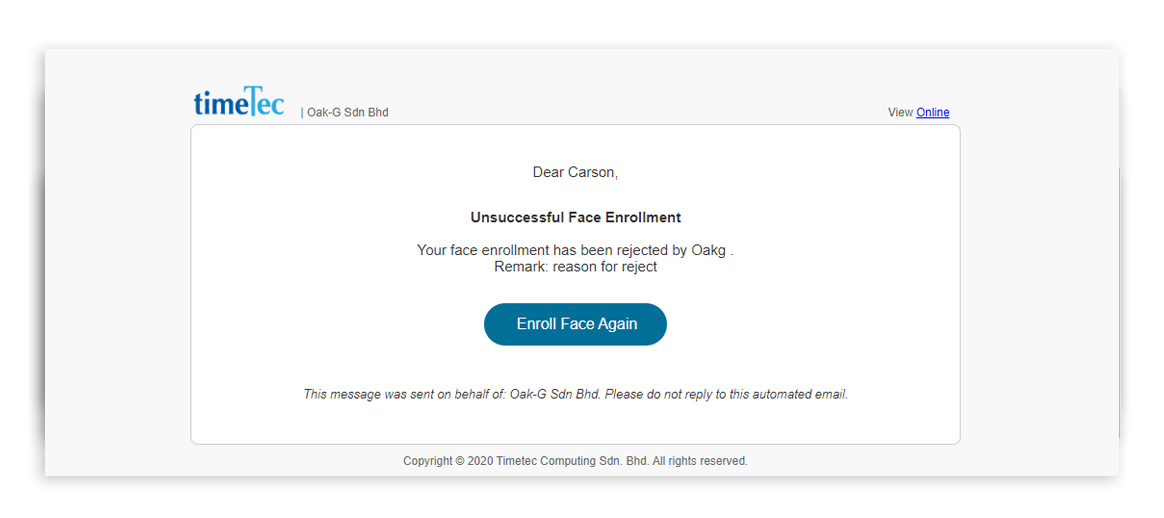
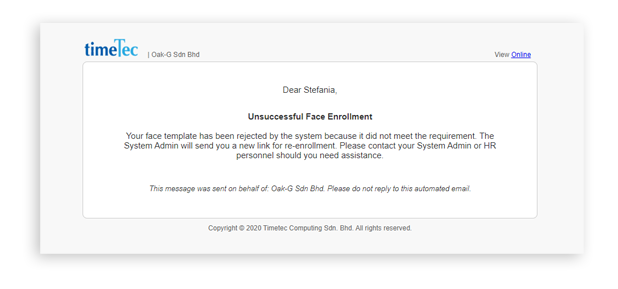
| n. An unsuccessful face enrollment email will be sent to the user if the Admin rejects the user’s face template. | |||
 |
|||
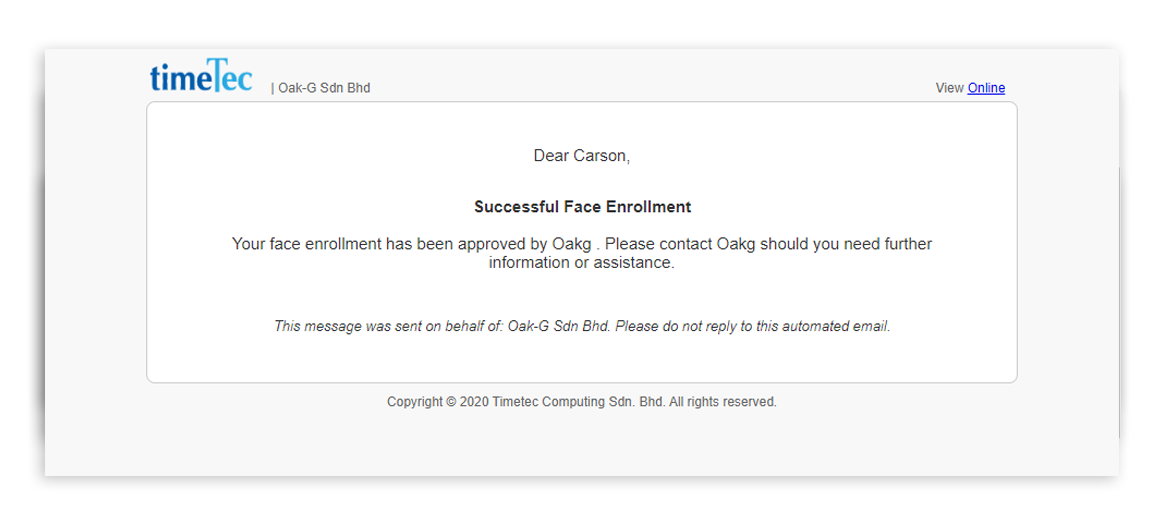
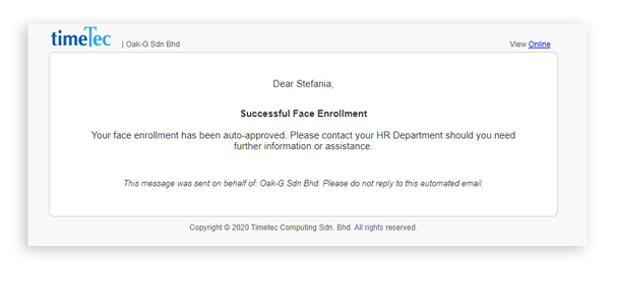
| o. A successful email will be sent to the user if the Admin approves the user’s face template. | |||
 |
|||
| 4. Face Enrollment with Auto Approval. a. To auto approve a face enrollment, the Admin is required to tick on the Auto Approval option before sending out the web link. |
|||
 |
|||
| b. The user will receive the email as stated at 2(d) for face enrollment. Follow the guideline to upload the photo as stated in the email. The system will auto-approve/reject the submission. | |||
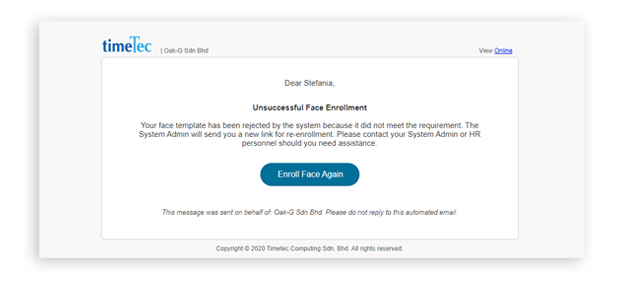
| c. The system will auto-screen the submitted images. An unsuccessful email will be sent to the user if all 3 uploaded images did not meet the requirement. The user will be able to re-enroll his/her face again for up to 3 tries. | |||
 |
|||
| d. An unsuccessful face enrollment email will be auto-generated and send to the user if the system fails to upload the photo to the QF Master device. | |||
 |
|||
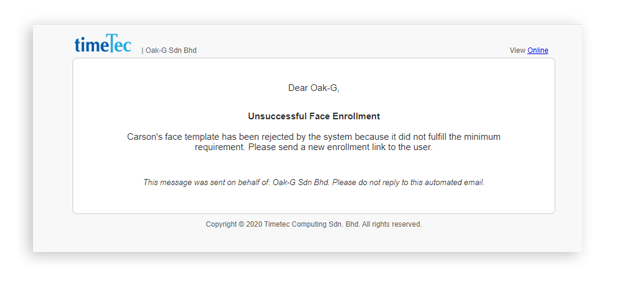
| e. An unsuccessful enrollment email will be sent to the Admin if the system fails to upload the user’s photo to the QF Master. | |||
 |
|||
| f. Successful face enrollment email sent to the user after the system has completed the registration process. | |||
 |
|||
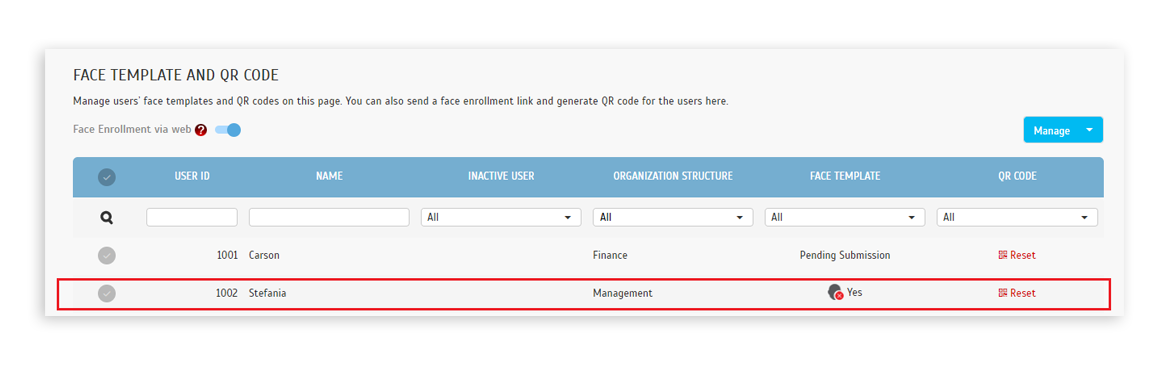
| g. Successful face template enrollment view on the Admin page. | |||
 |
|||
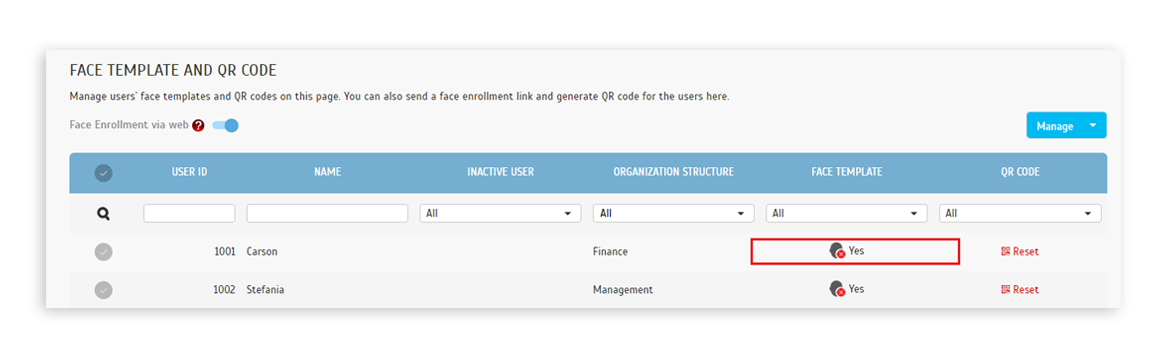
| 5. Delete Face Template a. Click on the face image button to remove the user’s face template. |
|||
 |
|||
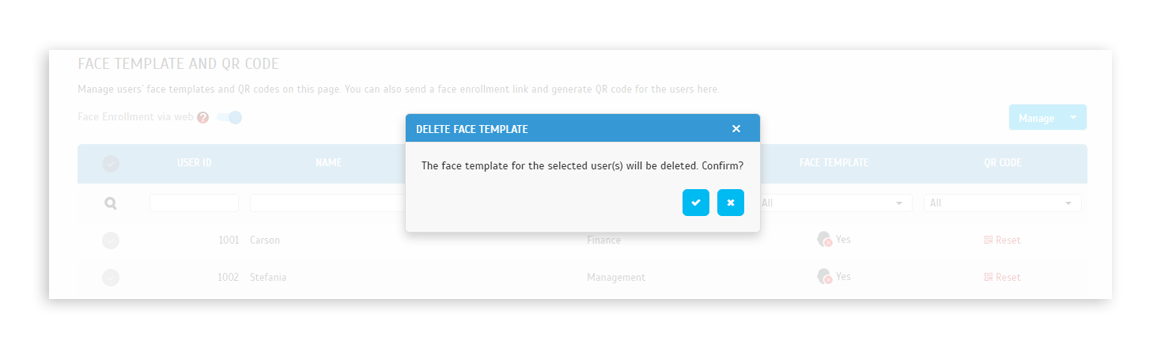
| b. Confirmation message to delete user’s face template. | |||
 |
|||
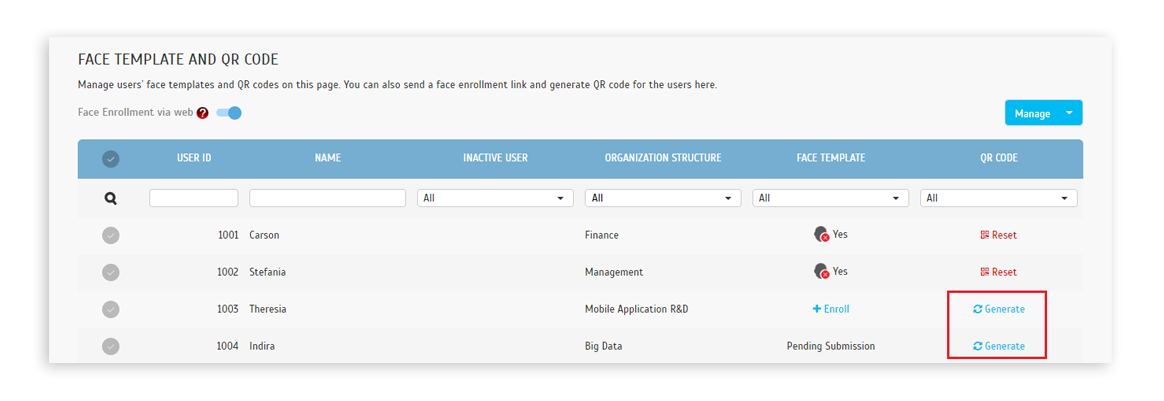
| 6. Generate QR Code a. Click on the Generate button to generate the user’s QR code (for a single user only). |
|||
 |
|||
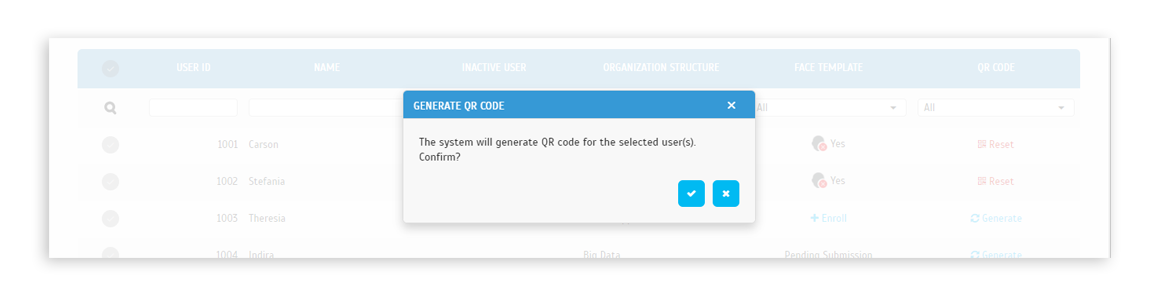
| b. Confirmation message to generate the selected user’s QR code. | |||
 |
|||
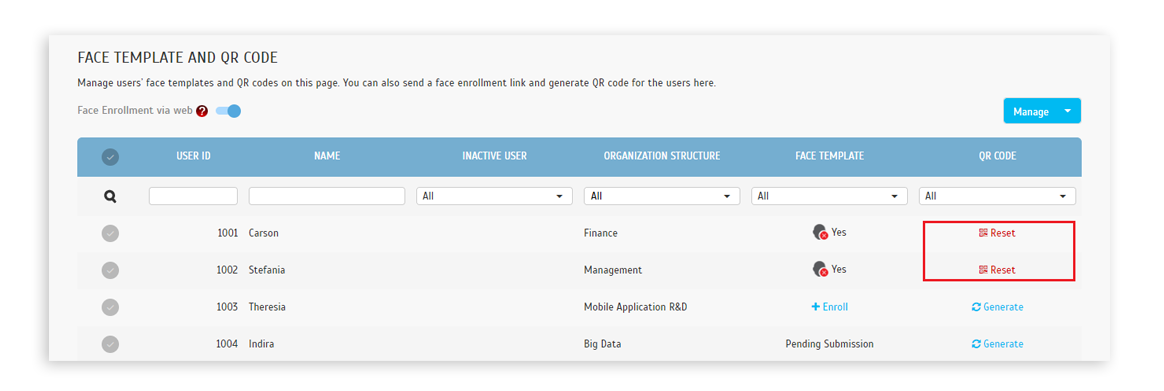
| 7. Reset QR Code a. Click on the Reset button to reset the user’s QR code (for a single user only). |
|||
 |
|||
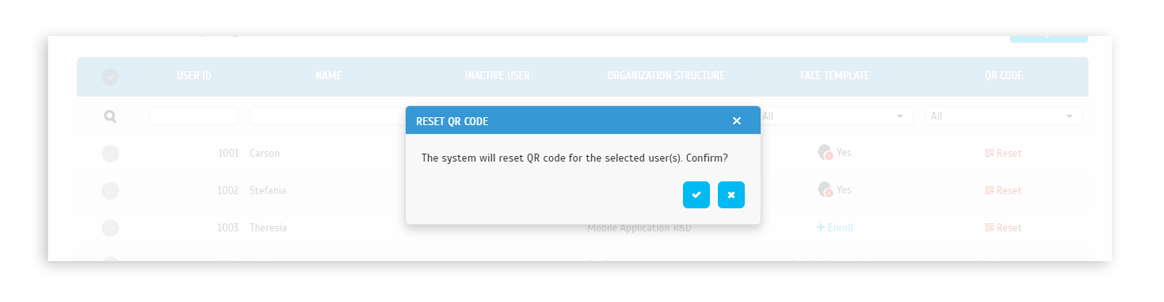
| b. Confirmation message to reset the selected user’s QR code. | |||
 |
|||
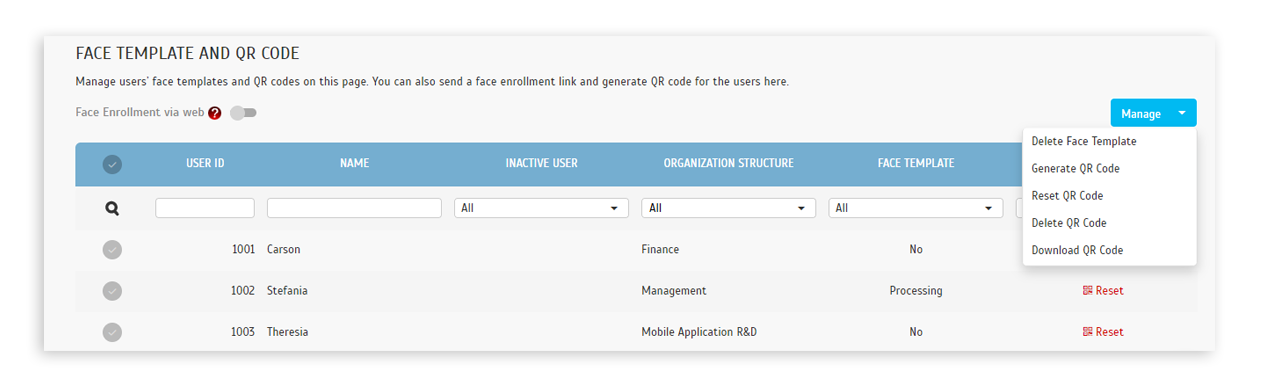
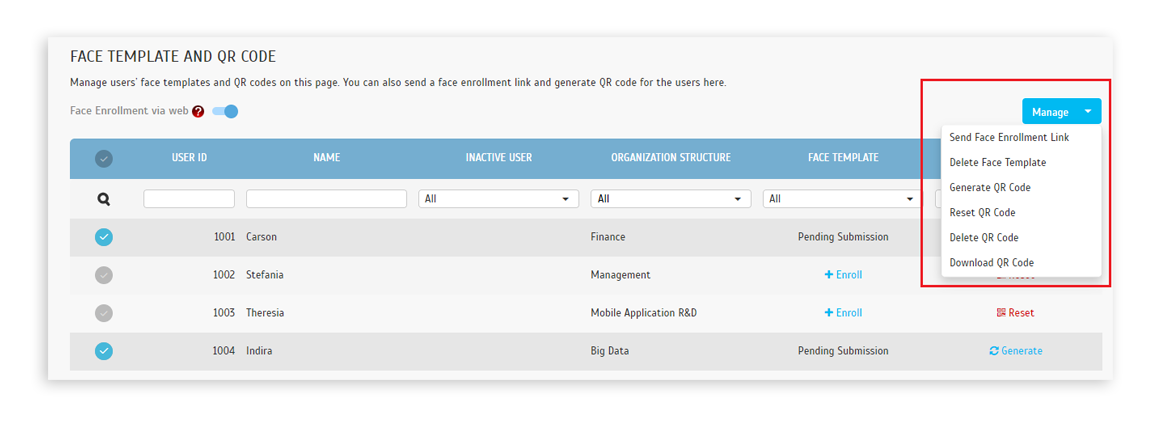
| 8. Batch update User a. Select users from the list, click Manage and select one of the options on the list. The selected action will affect the selected users. |
|||
 |
|||
| b. Send face enrollment link - Batch send weblink | |||
 |
|||
| c. Delete face template - Batch remove face template | |||
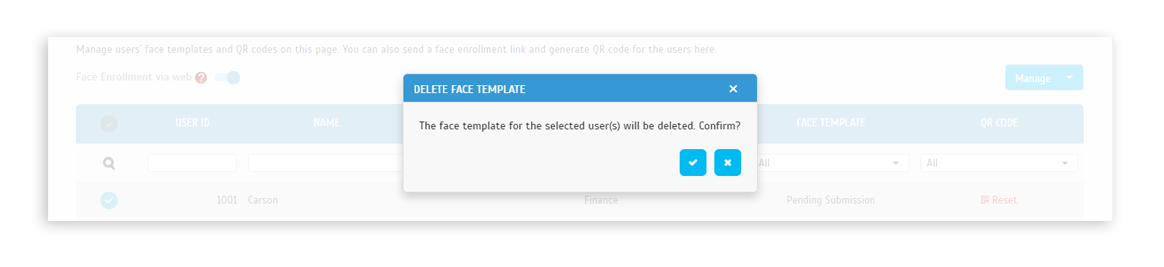 |
|||
| d. Generate QR Code - Batch generate QR code | |||
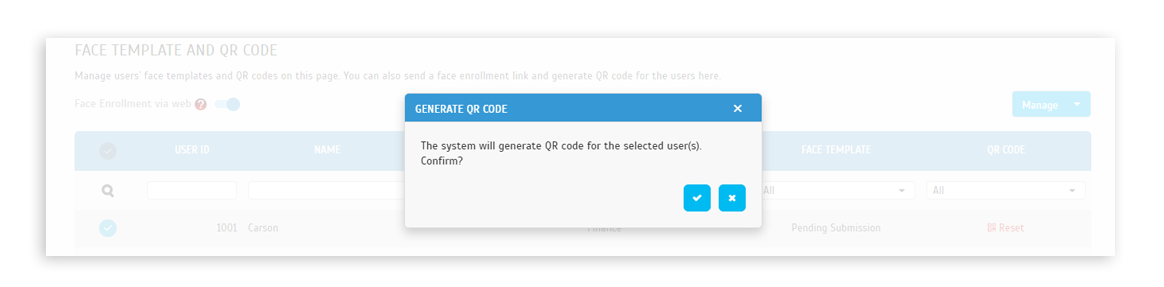 |
|||
| e. Reset QR Code - Batch reset QR code | |||
 |
|||
| f. Delete QR Code - Batch delete QR code | |||
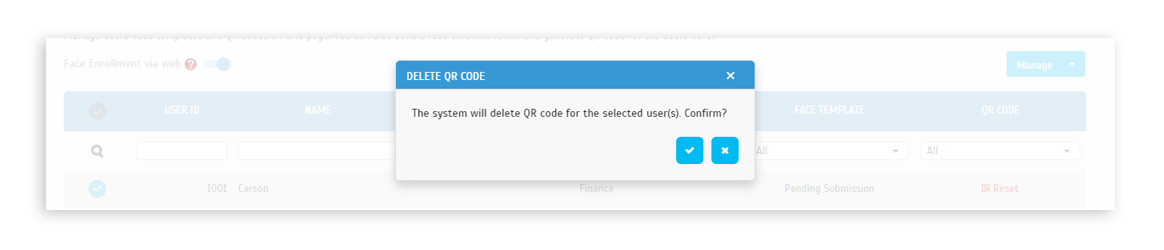 |
|||
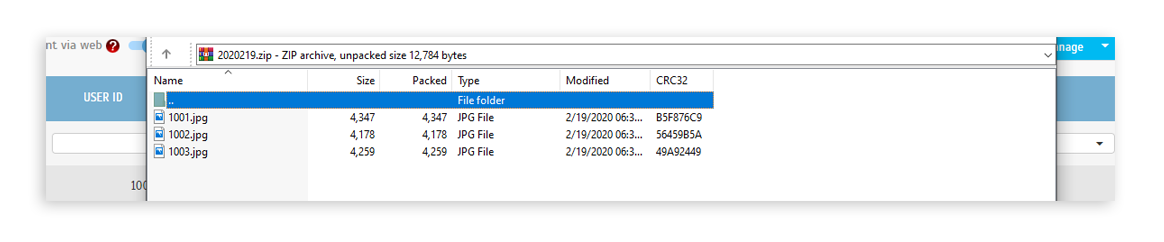
| g. Download QR Code - Batch download QR Code, save in JPG and zip, file name = ‘YYYYMMDD’ | |||
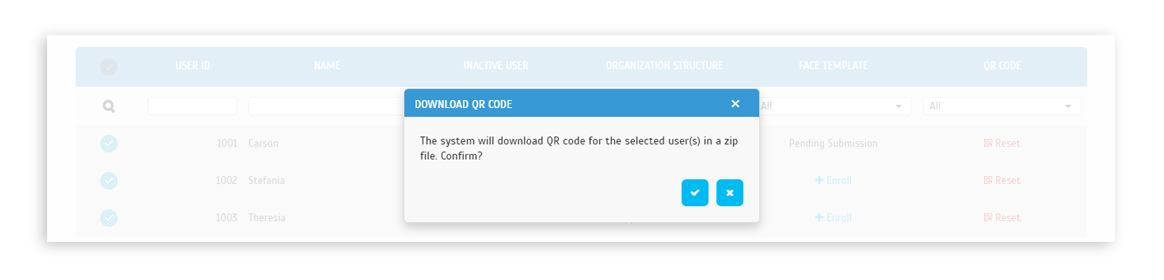 |
|||
| h. Downloaded zip file with all selected users’ QR Code in JPG format. | |||
 |
|||
| Note: If some of the screenshots or steps viewed here are different from the ones in the current system, this is due to our continuous effort to improve our system from time to time. Please notify us at info@timeteccloud.com, we will update it as soon as possible. |
© 2020 Timetec Computing Sdn. Bhd. All rights reserved.